
Beautiful by Drew Furniture offers stylish, durable pieces crafted with quality materials and ergonomic design. Proper assembly ensures longevity and safety, making it essential to follow instructions carefully.
Overview of the Brand and Its Products
Beautiful by Drew Furniture is a renowned brand specializing in high-quality, ready-to-assemble (RTA) furniture. Known for its commitment to quality and design excellence, the brand offers a wide range of stylish and functional pieces. From sleek sofas to modern tables and chairs, their products are designed to blend seamlessly into contemporary home decor. The brand emphasizes durability, using sturdy materials and innovative construction techniques. Beautiful by Drew caters to both homeowners and professionals, providing furniture that combines aesthetic appeal with practicality. Their product line includes everything from living room sets to office furniture, ensuring there’s something for every space. By focusing on sustainability and customer satisfaction, Beautiful by Drew has established itself as a trusted name in the furniture industry, delivering pieces that enhance both comfort and style.
Importance of Proper Assembly for Durability
Proper assembly is crucial for ensuring the durability and structural integrity of Beautiful by Drew furniture. Incorrect assembly can lead to uneven surfaces, wobbling, or even breakage, compromising both safety and functionality. Following the provided instructions carefully ensures that all components fit together seamlessly, maximizing the product’s lifespan. Improperly assembled furniture may also void warranties or damage the finish, reducing its aesthetic appeal. Taking the time to align parts correctly and tighten hardware securely prevents long-term issues. By adhering to the assembly guidelines, users can enjoy their furniture for years, maintaining its quality and performance. Proper assembly is not just about convenience; it’s about preserving the investment in Beautiful by Drew’s well-crafted pieces.
Tools and Materials Needed for Assembly
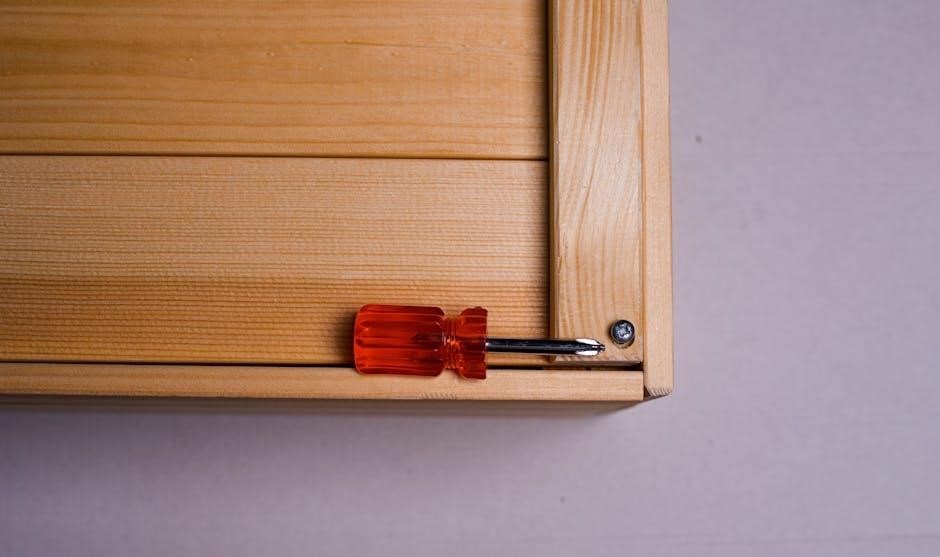
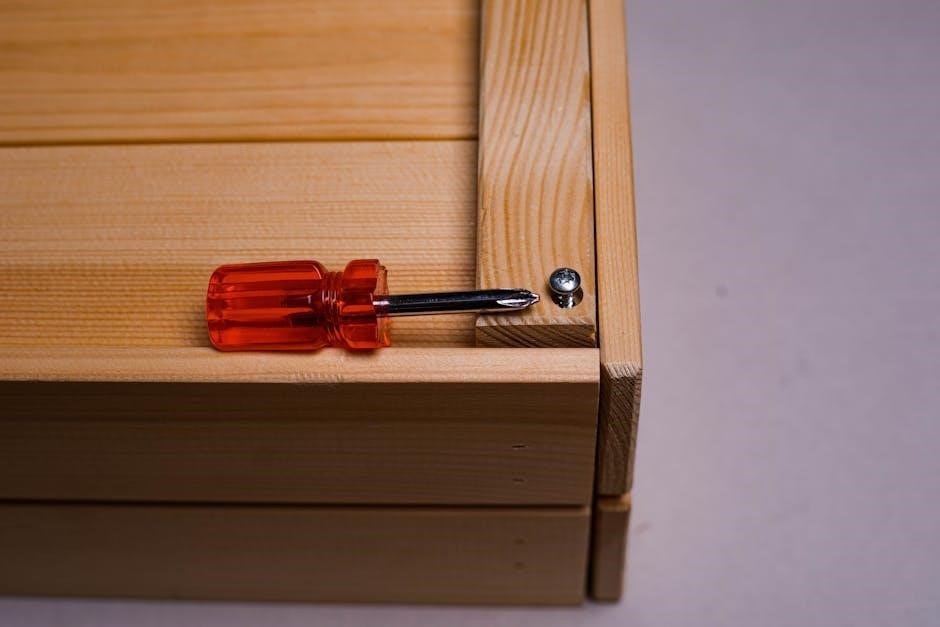
Essential tools include Allen wrenches, screwdrivers, and a rubber mallet. Materials provided are screws, dowels, and cam locks. Verify all components are included in the kit.
Essential Tools for Furniture Assembly
Assembly requires specific tools to ensure accuracy and efficiency. An Allen wrench (3mm and 5mm) is crucial for bolts and cam locks. A screwdriver (both Phillips and flathead) is necessary for securing screws. A rubber mallet helps in gently tapping parts together without causing damage. Clamps are useful for holding components in place while aligning. A tape measure ensures precise fitting, and a marker can help mark drill holes or alignment points. Additionally, a socket wrench may be needed for tighter connections. Always verify that all tools are included in your toolkit or readily available before starting. Proper tools prevent stripped screws and misaligned parts, ensuring a smooth assembly process and durable furniture construction.
Materials Provided in the Kit
The Beautiful by Drew Furniture assembly kit includes all necessary components for a seamless setup. Pre-drilled panels, shelves, and frames are crafted from high-quality materials for durability. Cam locks and bolts ensure secure connections, while dowels align pieces perfectly. Screws and Allen bolts are provided for tightening, and rubber pads protect surfaces from scratches. Hardware bags are labeled for easy identification. The kit also includes instruction manuals with visual guides and diagrams. Ensure all parts are accounted for before starting. Check for any damage or missing items to avoid delays. The materials are designed to fit together effortlessly, ensuring a sturdy and aesthetically pleasing final product. Proper use of these components guarantees a professional-looking result, even for DIY enthusiasts. Always verify the inventory list to confirm everything is included.
Understanding the Assembly Instructions
Clear instructions with diagrams guide users through assembly. Each step is detailed to ensure accuracy. Read carefully to avoid mistakes. Take time to understand each part.
Before You Start: Key Considerations
Before assembling your Beautiful by Drew Furniture, ensure you have a clear, flat, and stable workspace. Gather all tools and materials provided in the kit and organize them for easy access. Verify that all parts and hardware are included and undamaged. Wear protective gear, such as gloves, to prevent injury. Double-check the assembly instructions for any specific requirements or precautions. Familiarize yourself with the diagrams and written steps to avoid confusion. If unsure about any component, consult the manual or contact customer support. Proper preparation ensures a smooth and efficient assembly process.
Reading and Interpreting the Manual
Reading and interpreting the manual carefully is crucial for successful furniture assembly. Start by reviewing the entire manual to understand the process and identify any specific tools or techniques required. Pay attention to diagrams and symbols, as they often provide visual guidance for complex steps. Use smooth transitions between instructions to maintain clarity and avoid confusion. If unsure about a step, revisit the manual or seek additional resources for confirmation. Proper interpretation ensures that each part is assembled correctly, reducing the risk of errors and preventing potential damage to the furniture. Always double-check your understanding before proceeding to the next step.

Preparing the Workspace
Clear the floor, use a protective cover, and ensure good lighting and ventilation. Organize parts and hardware neatly to streamline the assembly process efficiently and safely.
Setting Up a Safe and Efficient Workspace
To ensure a smooth assembly process, start by clearing a large, sturdy work surface. Cover the floor or table with a protective layer to prevent damage. Declutter the area to avoid distractions and tripping hazards. Good lighting is essential, so position lamps to illuminate your workspace effectively. Proper ventilation is also important, especially when using adhesives or paints. Organize all parts and hardware in labeled containers for easy access. Place tools within reach to save time and reduce movement. Personal protective equipment, like gloves and safety glasses, should be nearby. Finally, ensure the room temperature is comfortable to maintain focus and efficiency throughout the assembly process. A well-prepared workspace enhances safety, productivity, and overall assembly quality.
Organizing Parts and Hardware
Organizing parts and hardware is crucial for a seamless assembly process. Begin by unpacking all components and laying them out on a clean, flat surface. Use small containers or bags to sort screws, bolts, and other fasteners by type and size. Label each container clearly to avoid confusion. Next, group larger parts, such as panels or frames, according to their sequence in the assembly manual. Match each part with its corresponding hardware, ensuring nothing is misplaced. Keep tools and materials within easy reach to minimize interruptions. A well-organized workspace not only saves time but also reduces the risk of misplacing essential items. Finally, double-check that all provided materials match the manual’s inventory list to ensure no parts are missing before starting assembly. Proper organization sets the foundation for a successful and stress-free project.

Step-by-Step Assembly Guide
Follow the manual’s sequence, starting with base construction, then supports, panels, and final attachments. Use tools wisely, ensuring precise alignment and secure fitting for stability and durability.
Following the Assembly Sequence
Start with unpacking and organizing parts according to the manual. Begin with the base or frame, ensuring all pre-drilled holes align correctly. Attach legs or supports next, using the screws provided. Proceed to add panels or shelves, verifying each piece fits securely. Use the Allen wrench for bolts and a screwdriver for smaller screws. Follow the sequence to maintain balance and prevent structural issues. Double-check each step to avoid mistakes. Tighten all connections firmly but avoid overtightening. If unsure, refer back to the manual or diagrams for clarification. Taking your time ensures a sturdy and properly assembled piece of furniture.
Aligning and Securing Parts
Aligning parts correctly is crucial for stability and functionality. Use the provided diagrams to match each component accurately. Ensure all edges and surfaces are flush before securing. For screws, pre-drill holes if necessary to prevent splitting. Tighten bolts gradually, working from the center outwards to maintain even pressure. Check alignment frequently to avoid misfits. Once parts are in place, secure them firmly but avoid overtightening, which can damage materials. Use a spirit level to confirm surfaces are even. If a part doesn’t fit, double-check its orientation or consult the manual. Proper alignment ensures the furniture is both durable and visually appealing, meeting the quality standards of Beautiful by Drew Furniture.

Common Challenges and Solutions
Common issues during assembly include misaligned parts, stripped screws, and missing hardware; Solutions involve verifying part numbers, using the correct tools, and following instructions carefully.
Troubleshooting Common Assembly Issues
During assembly, common issues may arise, such as parts not fitting properly or hardware not aligning. First, verify that all parts are correctly identified and referenced in the manual. If a piece doesn’t fit, double-check its orientation and alignment. For stripped screws, use a screw extractor or consult customer support. Loose joints can be tightened with additional screws or adhesive. Missing hardware can often be sourced from local hardware stores or by contacting the manufacturer. If instructions are unclear, refer to online resources or video guides for clarification. Patience and careful re-examination of steps can resolve most assembly challenges effectively.
Adjustments and Tightening
Proper adjustments and tightening are crucial for ensuring the stability and longevity of your furniture. Once the main structure is assembled, use tools like Allen wrenches or screwdrivers to secure all bolts and screws firmly. Start with the largest bolts and work your way to smaller screws to maintain even tension. Avoid overtightening, as this can damage the material or strip screw heads. After assembly, inspect all joints and connections to ensure they are snug and even. If any part feels loose, tighten it slightly but carefully. Finally, double-check that all drawers, doors, or moving parts align properly and function smoothly. Proper adjustments and tightening will ensure your furniture remains stable and functional for years to come.
Safety Tips and Precautions
Always wear protective gloves and eyewear during assembly to prevent injuries. Ensure the workspace is clear of obstacles and children. Use tools correctly to avoid accidents. Follow the manual instructions precisely to ensure stability and safety of the furniture. Proper lifting techniques are essential to prevent strain or damage. Keep loose clothing tied back and long hair tied up to avoid entanglements. Avoid overreaching or stretching, as this can lead to loss of balance. Never leave tools or sharp objects unattended. Double-check all connections before final tightening. Ensure all moving parts function smoothly. Regularly inspect the furniture for wear and tear. Replace any damaged parts immediately. Always follow the manufacturer’s guidelines for weight limits and usage. Keep the assembly area well-lit to avoid accidents caused by poor visibility. Never assemble furniture on an uneven surface, as this can lead to instability. Use a ladder or step stool only if necessary. Always maintain a firm grip on tools and parts. Keep all small hardware out of reach of children. Avoid using power tools near water or in damp conditions. Never rush through the assembly process, as this can lead to mistakes. Take regular breaks to maintain focus and avoid fatigue. Ensure all edges and surfaces are smooth and free from sharp protrusions. Always test the stability of the furniture before placing heavy objects or using it. Regularly tighten loose screws or bolts to maintain structural integrity. Keep the assembly manual handy for quick reference. Dispose of packaging materials responsibly to avoid hazards. Always ventilate the workspace to prevent inhaling dust or chemical fumes. Keep a first-aid kit nearby in case of minor accidents. Never ignore safety warnings or precautions provided in the manual. Stay alert and focused throughout the assembly process. By following these safety tips and precautions, you can ensure a safe and successful furniture assembly experience. Proper safety measures will not only protect you but also ensure the longevity and stability of your furniture. Always prioritize safety to avoid potential risks and injuries. A well-prepared and cautious approach will make the assembly process smooth and stress-free. Remember, safety should never be compromised for speed or convenience. Take your time and assemble with care to enjoy your new furniture for years to come. Safety is everyone’s responsibility, so stay vigilant and proactive throughout the assembly process. A safe workspace leads to a successful and enjoyable assembly experience. Always think ahead and anticipate potential hazards to prevent accidents. Your safety and the durability of your furniture depend on your attention to detail and adherence to precautions. Stay safe, and happy assembling!
Safety Measures During Assembly
Always wear protective gloves and eyewear to prevent injuries from sharp edges or flying particles. Ensure the workspace is well-lit, clear of clutter, and free from tripping hazards. Use tools correctly and avoid applying excessive force, which could damage the furniture or cause accidents. Keep children and pets away from the assembly area. Avoid wearing loose jewelry or clothing that could get caught in tools. Ensure all power tools are used with caution, and keep them out of reach of children. Maintain a stable stance while working and avoid overreaching. Regularly inspect tools for damage and ensure they are in good working condition. Prevent electrical hazards by keeping tools away from water. Follow all safety guidelines provided in the manual and take breaks if fatigue sets in. Proper safety measures ensure a smooth and injury-free assembly process.
Preventing Damage to Furniture
Handle all furniture parts with care to avoid scratches or dents. Use the provided hardware and tools to prevent over-tightening, which can damage the material or strip screws. Place protective cloths or padding under components to safeguard against surface damage during assembly. Ensure all fittings and joints align perfectly before securing them to prevent uneven stress. Avoid using excessive force, as this can warp or crack the furniture. Regularly inspect parts for any visible damage before installation. Store unused components in a dry, stable environment to prevent warping or moisture damage. Follow the manufacturer’s guidelines for weight limits and intended use to maintain structural integrity. By taking these precautions, you can ensure your Beautiful by Drew Furniture remains in pristine condition for years to come. Proper care during assembly is key to preserving its beauty and functionality.

Final Checks and Touch-Ups
Inspect the furniture for stability, alignment, and secure connections. Tighten any loose hardware and touch up minor scratches with provided finishes. Ensure all parts are perfectly aligned and functional before final use.
Inspecting the Finished Furniture
Once assembled, thoroughly inspect the furniture for any imperfections or misalignments. Check all joints and connections to ensure they are secure and evenly tightened. Examine the surface for scratches or damage, and verify that all hardware is properly installed. Test the stability by gently rocking or applying moderate pressure. Ensure all drawers, doors, or moving parts function smoothly. If any issues are found, address them immediately by loosening and re-tightening components or adjusting alignment. This step ensures the furniture is both safe and visually appealing, ready for daily use without compromising its durability or aesthetic appeal.
Final Adjustments and Touch-Ups
After inspection, perform final adjustments to ensure optimal functionality and appearance; Tighten any loose screws or bolts, and make sure all parts are perfectly aligned. If necessary, use a soft cloth to wipe down surfaces, removing dust or fingerprints. For minor scratches, apply furniture touch-up markers or wax sticks to blend the area with the finish. Double-check drawer glides, hinges, and other moving parts to ensure smooth operation. Adjust leg levelers on uneven floors for stability. Finally, apply a furniture polish or conditioner to protect the material and enhance its luster. These touch-ups guarantee your Beautiful by Drew Furniture looks and performs its best, ready to enhance your home decor for years to come.
No Responses